Complete guide: how to make scented candles?
Want to challenge your creativity? Looking to make your own scented candle? Don't wait any longer, get started, we are here to help you!
In this guide, you will find a complete tutorial as well as advice on how to best make your first scented candle.
Summary :

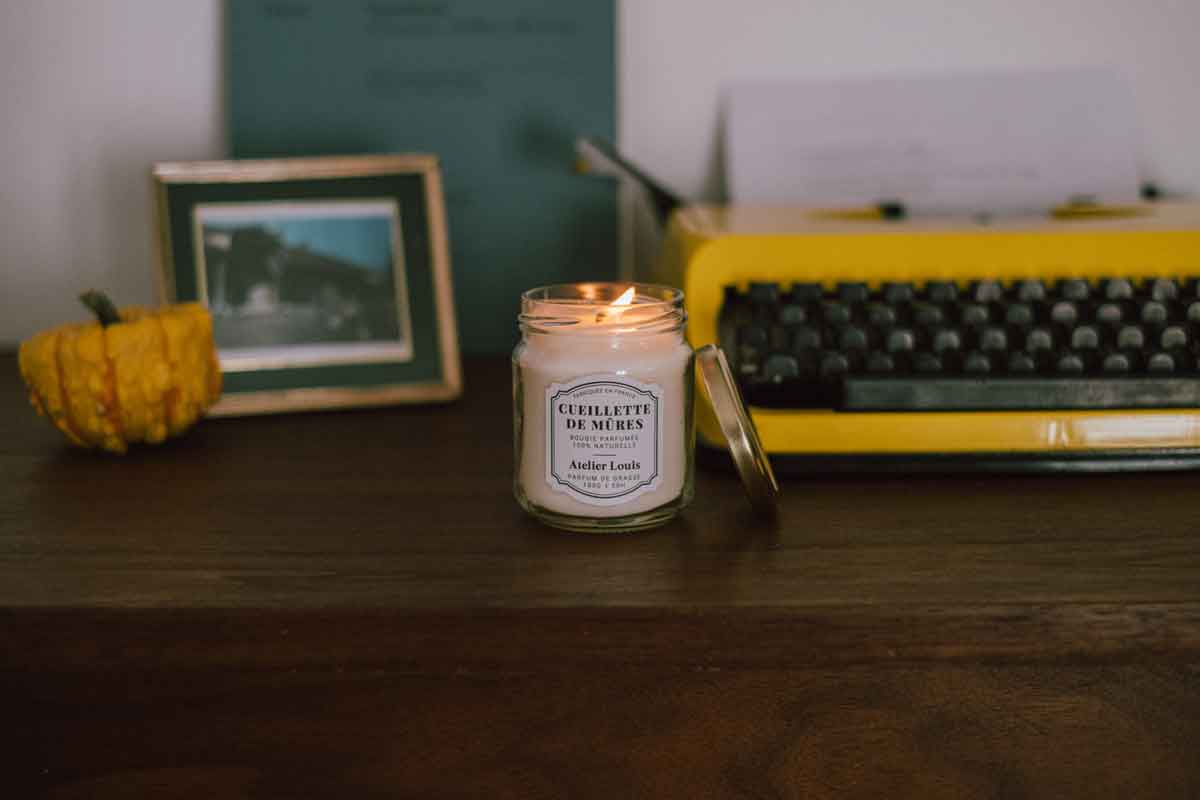
To inspire you, find our scented candles ! They can guide you!
Before jumping into the void, let's talk about all the essential points to know when you are a beginner:
Learn all about...
Wax
There are several types of waxes:
- Animal wax: it is therefore beeswax. It is secreted by wax bees.
- Mineral wax: Paraffin comes from petrochemicals, it is extracted from non-renewable solid petroleum residues, but it releases toxins that are bad for your health.
- Vegetable wax: vegetable waxes come from different varieties of plants: soybeans, carnauba, rice, rapeseed, palm… and are entirely natural, ecological and respectful of the environment, they do not give off black smoke.
We strongly advise you to do like us and use a vegetable wax. Our commitment is to offer you the best quality of natural wax for your creation: rapeseed wax .
You should know that vegetable wax generally burns slowly (so your candle will last longer).
Here is some information to know about rapeseed wax:
- It is completely biodegradable.
- It is made in Europe
- It has a lower carbon footprint than soy wax
- Rapeseed is grown in rotational cropping
- It is GMO free.
- It is a cruelty free and vegan wax.
- It does not release any toxic substances.
- Wax residue can be washed away by simply mixing warm water and soap.
- Rapeseed wax burns longer thanks to its low melting point and allows excellent diffusion of fragrances.
Highlights :
Choosing the right wick is crucial in making a scented candle. Indeed, the structure, size and material of a wick play a decisive role in the combustion of a candle.
If the wick is oversized, your decorative candle will burn badly. You may see soot appear at the end of the wick as well as black smoke during combustion.
Light a candle with an undersized wick and your candle will also burn badly. A well will form around the wick and eventually extinguish the flame automatically.
There are 3 types of wick:
- Pre-waxed wicks
- Unwaxed wicks
- wood wicks
When you choose your wicks, you will see that there are candle wick references such as 15/8 or 21/12. You should know that the first number indicates the number of strands outside, the second indicates the number of strands inside the wick.
Here are some more telling examples:
- TCR 15/8 (for diameters from ± 38 to 45 mm)
- TCR 18/10 (for diameters from ± 43 to 50 mm)
- TCR 21/12 (for diameters from ± 48 to 55 mm)
The perfumes
Scented candles can be made with essential oils or fragrances. Once heated, some essential oil particles can be hazardous to health. It is very important to choose a professional to make candles with essential oils. If you wish to work with fragrances specially designed for scented candles, it is also preferable to choose a professional perfumer who will be able to advise you on the choice of your perfume.
In order to ensure the safety of my customers, I only use fragrances made in Grasse by perfumers. All my perfumes are CMR and Phthalate free.
Scents: Lavender, Musk, Sandalwood, Apple & Cinnamon, Vanilla, Leather & Wood, Orange Blossom, Cherry Blossom...
The steps to follow
Let's go to our recipe:
To embark on a DIY without equipment is to launch into the void without knowing where you are jumping. For a first experience, we make sure to have it all!
Here is what you need:
- Wax
- Wicks
- A container (jar of jam, bowl etc...)
- A pair of scissors
- A saucepan
For the more creative, you can try personalizing your candle with:
- dried flowers
- natural dye
Now that you have all your gear. Start creating!
1st step: Calculate the weight of the different phases (Wax and Perfume)
The amount of wax depends on the size of your container, the bigger your container, the more wax and perfume you will need to put inChoose the amount of wax and perfume you need: we can't have the eye during our first creation so here is our solution!
Take your container and put it on your scale (the one in your kitchen is fine), press the “tare” key. Then fill your container with water. The weight displayed in grams on the scale screen tells you the total amount of wax + perfume mixture you need.
Then choose your dilution. I advise you to choose between 7% and 12% of perfume. You will make this choice according to the intensity of the perfume, your feelings and the various tests you have carried out.
Then calculate your dilution. To calculate perfume weight and wax weight, you will find an example below 👇
Measured water weight: 200g
Desired perfume dilution: 9%
Wax weight = 200g / 109 * 100 = 183.5g
Perfume weight = 183.5 * 9% = 16.5g
-
Measured water weight: 200g
Desired perfume dilution: 7%
Wax weight = 200g / 107 * 100 = 186.9g
Perfume weight = 183.5 * 7% = 13.1g

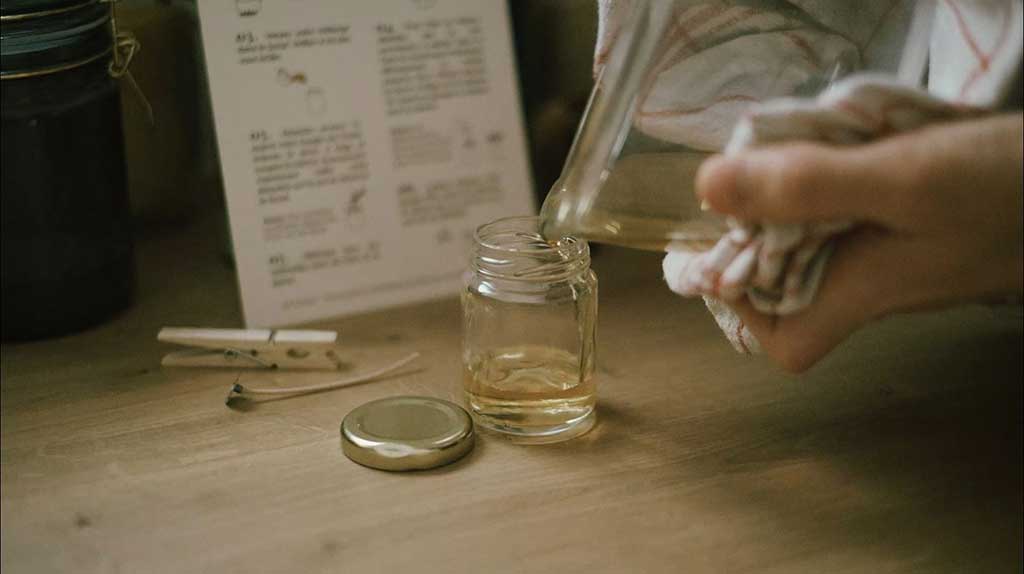
2nd step: Prepare your wax + perfume base
Once you have made your calculations, weigh your wax and your perfume in different containers. Then put the oilskin to melt in a bain-marie. You can stir gently to help the wax melt.
Once the wax has melted, you can stop your water bath and let your wax cool. When your wax reaches ± 55°C you can add your perfume.
Remember to mix well to obtain a homogeneous mixture.

It's optional but don't hesitate to add a few drops of natural dye for a colored candle!
Your database is complete!
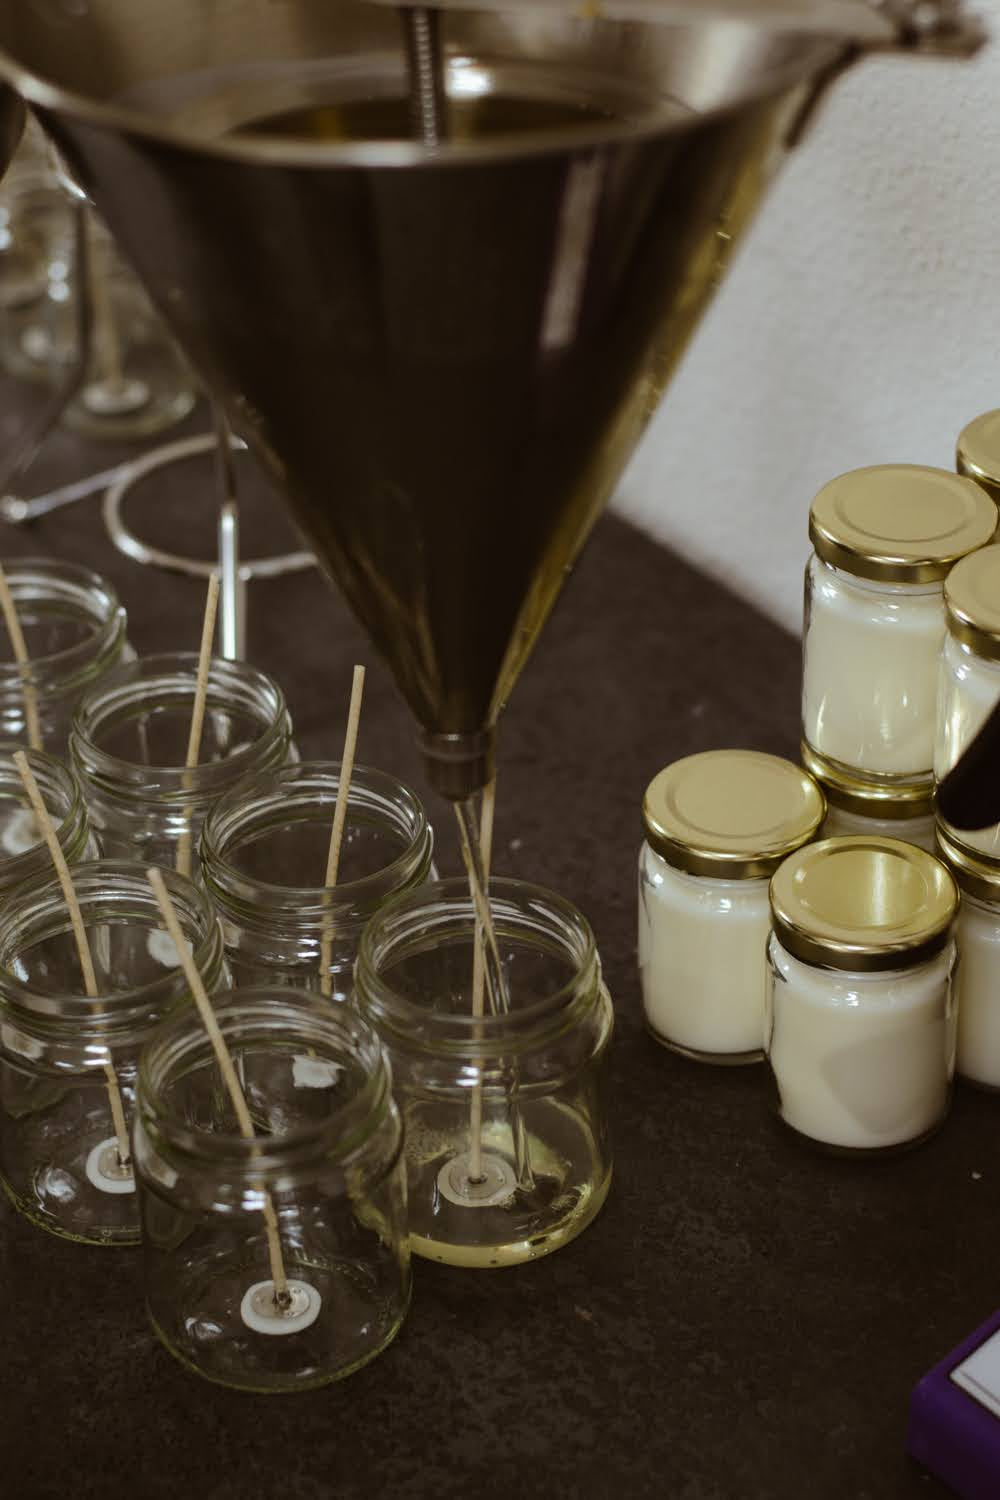
3rd step: put the wick
In our case, we use pre-waxed wicks in rapeseed wax. Pre-waxed wicks have the advantage of being rigid and therefore of facilitating the next step: pouring.
Now that you have the right wick, here's how to install it:
| just take your pre-waxed wick and put a dot of glue or melted wax to make it adhere to the bottom of your container. Make sure to position it in the center. Then, to keep it in place, and straight, take pliers and hold the wick. |  |
4th step: pouring
To finalize your candle, once your wick is well attached to the bottom of your container, carefully pour your mixture into your container, then let cool.
Step 5: Cooling
Let the candle cool completely until it is completely hard and at room temperature. Once your candle has cooled, you can trim the wick. I advise you to leave ± 8 to 10 mm of wick.
Last step: The Cure
What is the cure? This is the most important moment in the candle making process, as this moment will only determine the quality of your candle.
Our advice is therefore to let your candle rest for at least 2 days. You must add between 2 and 5 days of treatment for the candle to develop its full olfactory potential.
So ! You made your own candle!
Our scented candle making kit

For all those who wish to make candles, we provide you with a DIY kit (do it yourself) to make your own natural candles in a fun way.
This kit can also be the ideal gift for your loved ones: offer them a moment of calm and relaxation while awakening their creativity.
Your future kit will allow you to use all your creativity, by following a recipe and designing 4 candles with different scents.
It contains absolutely everything you need to create your first scented candles:
- ± 300 grams of 100% natural rapeseed wax
- 4 glass jars of 90 ML
- 4 lead-free pre-waxed cotton wicks and their holders
- 4 perfumes made in Grasse, without CMR or Phthalate
- 1 wooden spatula for mixing
- 4 labels to personalize
- 1 printed manual
- 2 clothes pegs
Are you still hesitating? Here is the opinion of our customers!
